

Why sourdough you might ask?


Sourdough starter
Day 1 - In a wide-mouth glass jar/container with a lid, mix 4 oz. flour with 4 oz water. Cover loosely with the lid and set aside on the counter. You want a jar large enough that the starter will not overflow.
Day 2 - Add 4 oz flour and 4 oz water. Mix well, cover loosely and set aside on the counter.
Day 3 -5. Repeat above. By day 2 you should begin to see bubbles forming in your starter.
By Day 5 you should have a nice bubbly starter that smells kind of sweetly sour.
Once your starter is established it's time to bake.
The Day before I want to bake I "feed my starter" in the morning and leave it on the counter.
Feeding: measure out 4 ounces of flour, 4 ounces of water and 4 ounces of starter. Mix in a jar with enough room for your starter to double in volume, cover loosely and leave on the counter. That evening around 10pm, I mix my bread dough.
Sourdough Bread Recipe:
1 cup starter
3 1/2 cups cool water
1 tablespoon sea salt
3/4 cup whole wheat flour
6 -7 cups unbleached all purpose flour
All purpose plain flour to dust the work surface.
You will need a large basket, draped with a clean tea towel.
I baked my bread in a 31/2 quart dutch oven.
Day 1
Combine the starter, water and salt in a large bowl. Stir until the mixture is blended and the starter dissolves in the water.
Begin by adding the whole wheat flour and mixing well. Add the first 5 cups of white flour, one cup at a time, mixing well either with your hands or a sturdy spatula.
Continue mixing the dough until it is thick and spongy. Add from the remaining 1-2 cups of flour only enough to form a soft and slightly tacky dough. You don't have to add all of it. I only added 6 cups total last time I baked.
Cover the bowl with plastic wrap and leave it on the counter to rise overnight.
Day 2
The next morning, line an 11 inch basket or bowl with parchment paper.
With a wet spatula or wet hands, turn the dough onto a floured work surface.
Shape the dough into a round ball. Don't punch it down, you want to leave the air in it. Place it, seam side down, into the basket. Pinch the seam together with your fingers. Cover the basket loosely with a damp towel and let it rise slowly at room temperature for about 4-6 hours. If it has risen over the rim of the basket and it is very loose and jiggly it has over-proofed. Do not slash it if that has happened.
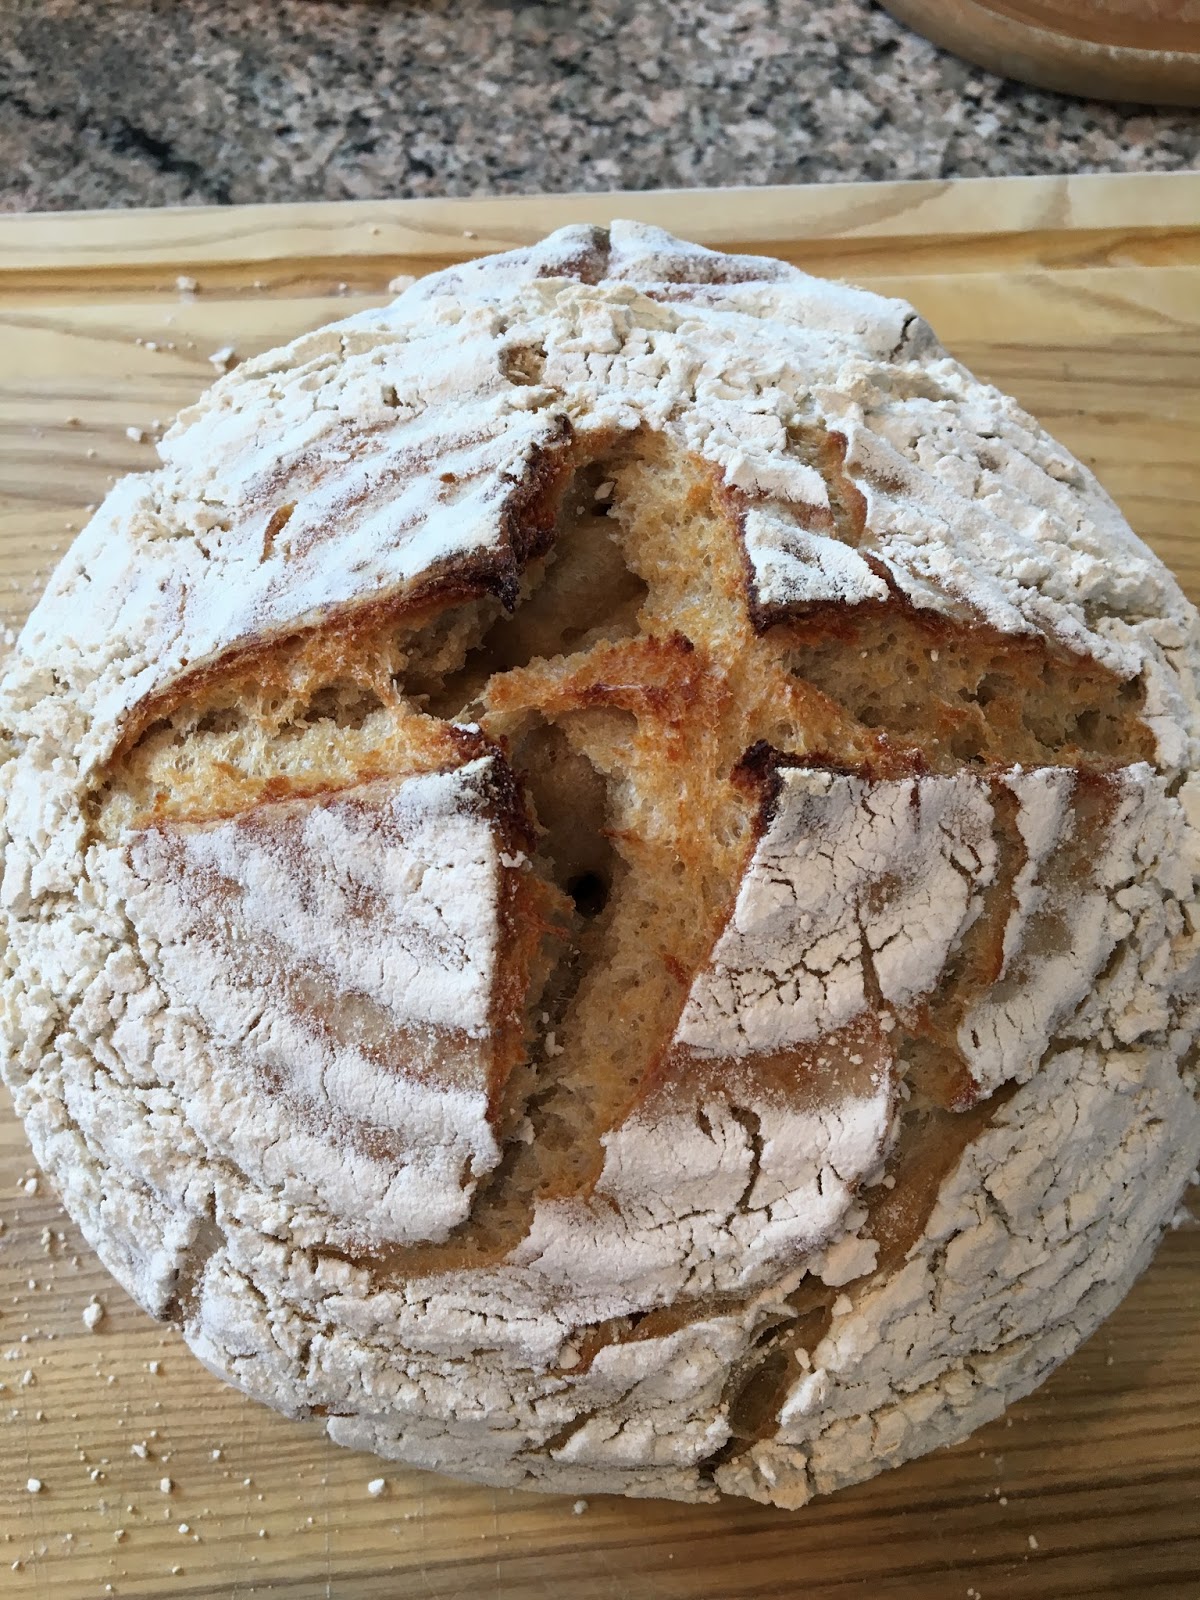
Slash a crisscross over the top with a sharp knife or a razor.
Place a five quart covered dutch oven in the oven and preheat to 475 degrees. Remove the dutch oven from the oven, open the lid and picking up the dough by the sides of the parchment paper, place it into the cavity. Caution: use oven proof gloves whenever you handle the hot Dutch oven, or the hot bread.
Cover the dutch oven and place the bread back in the oven. Bake for 35 minutes. Remove the cover, lower heat to 460 and continue to bake for another 20-25 minutes.
The bread is ready when it is nicely browned on top and it sounds hollow when tapped in the back.
Remove from dutch oven and let cool completely before you cut into it. Yes, I know you can't wait but if do your bread, like one of mine, might be ruined.
Cut into it and enjoy!
Maria
No comments:
Post a Comment